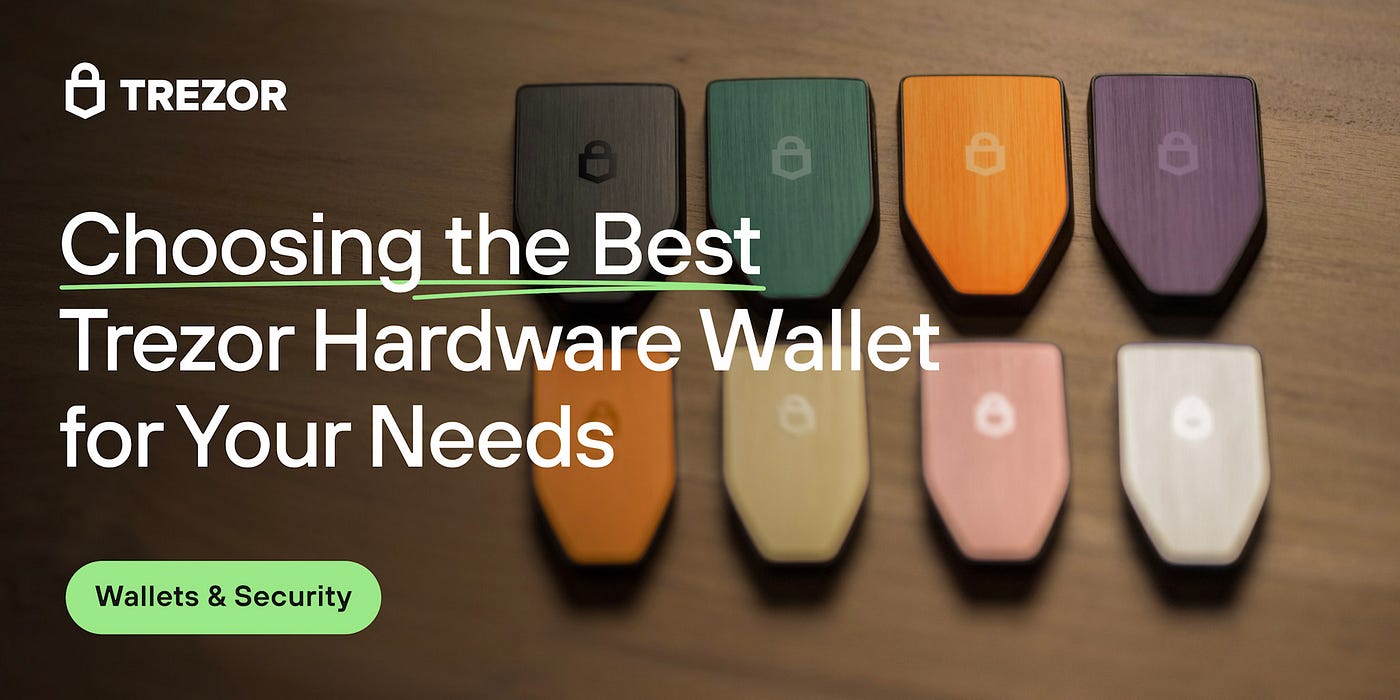
In the ever-evolving world of cryptocurrency, one golden rule always stands tall: not your keys, not your coins. This is where hardware wallets like Trezor shine—offering an extra layer of protection by storing your crypto offline. For those new to cold storage, setting up a hardware wallet might seem intimidating. But fear not—Trezor has simplified the process. In this post, we’ll walk you through the setup using Trezor.io/start, step-by-step.
Why Use a Trezor?
Before diving into the setup, let’s briefly touch on why Trezor is a go-to for many crypto holders. As a hardware wallet, Trezor keeps your private keys offline and away from the reach of hackers. It supports hundreds of coins and tokens, integrates with popular wallets, and offers an intuitive interface—making it beginner-friendly and secure.
What You’ll Need
-
A Trezor device (Model One or Model T)
-
A computer with internet access
-
A USB cable to connect your device
-
A few minutes of focus and patience
Step 1: Visit Trezor.io/start
Once you’ve unboxed your Trezor device, head to Trezor.io/start. This page guides you based on your model and operating system, making sure you’re downloading the correct firmware and Trezor Suite (the official desktop app).
Step 2: Install Trezor Suite
Trezor Suite is your control center. Download and install it for your OS (Windows, macOS, or Linux). Once installed, launch the application and connect your Trezor device using the USB cable.
Step 3: Firmware Check & Update
If this is your first time using the device, it might prompt you to install or update the firmware. This is a necessary security step—always make sure your device is running the latest firmware directly from Trezor.
Step 4: Create a New Wallet
Once the firmware is ready, you’ll have the option to “Create New Wallet.” Click this and follow the on-screen instructions. The Trezor will generate a recovery seed—a 12- or 24-word phrase that is your only way to recover your wallet if the device is lost or damaged.
Important: Write your recovery seed down on paper and store it somewhere safe and offline. Never take a photo or save it digitally.
Step 5: Set a PIN
Next, you’ll set a PIN to protect the device from unauthorized access. Choose something secure, but memorable. This adds an extra security layer in case someone gets physical access to your device.
Step 6: You’re Ready!
That’s it—you’re all set. You can now send, receive, and manage crypto securely through the Trezor Suite. Explore additional features like labeling accounts, enabling passphrase protection, or integrating with third-party wallets like Exodus or MetaMask for advanced usage.
Final Thoughts
Cold storage might seem complex at first, but Trezor has done a fantastic job of making it accessible. By following the steps at Trezor.io/start, even complete beginners can set up their hardware wallet with confidence. In a world of increasing digital threats, taking control of your crypto security is more important than ever—and Trezor makes that step both simple and powerful.